8.1 Setting up email notifications 
To receive error notifications via email, you must first configure global email settings. Individual projects can disable email notifications in their project settings, and each user can opt out in their profile settings. Once global email notifications are configured, project-level rules determine when you will be notified.
Email notifications are sent to the address associated with your Telebugs account. If you need notifications sent to a different address, update your email in your profile.
You can choose to receive notifications based on the following conditions:
- Notify when a new error occurs for the first time.
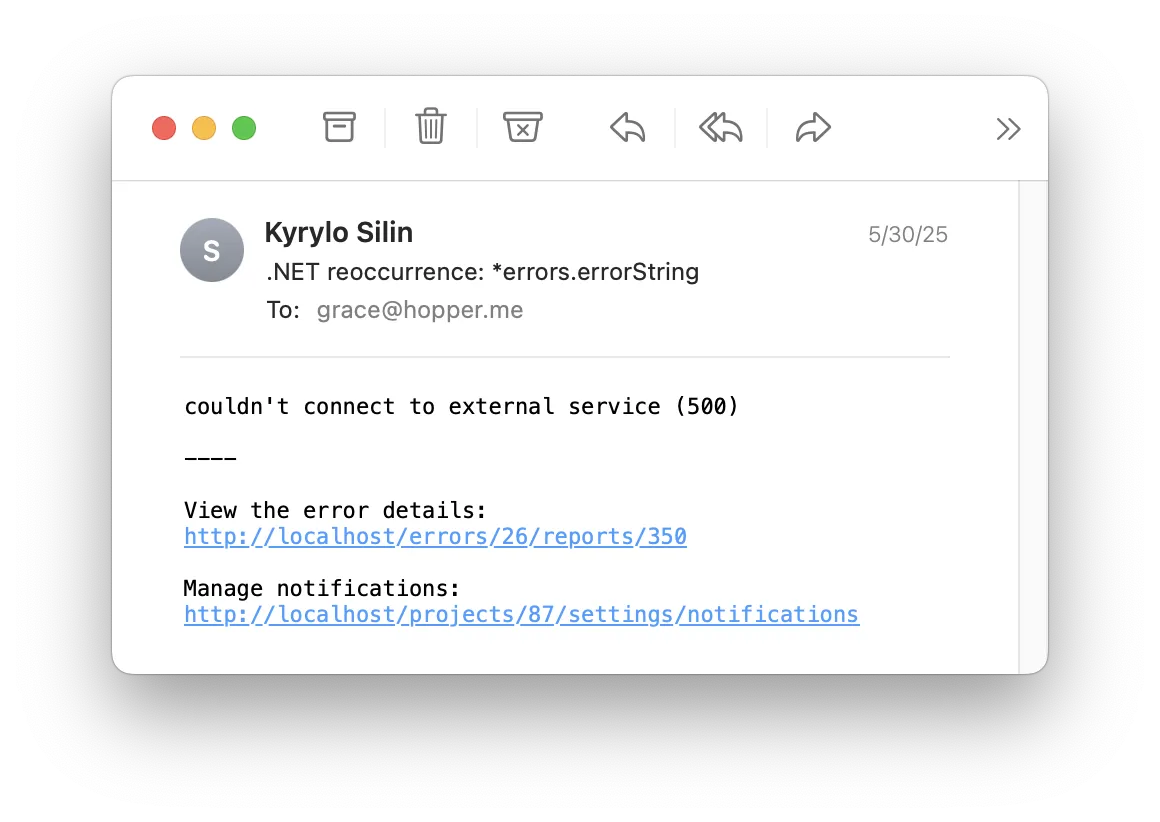
- Notify when an error reoccurs after being resolved.
- Notify when error frequency exceeds a threshold (for example, more than 10 reports in 5 minutes).
Follow these steps to configure email notifications:
- Open the menu in the top-right corner, click your profile name, and select
Notification Configuration.
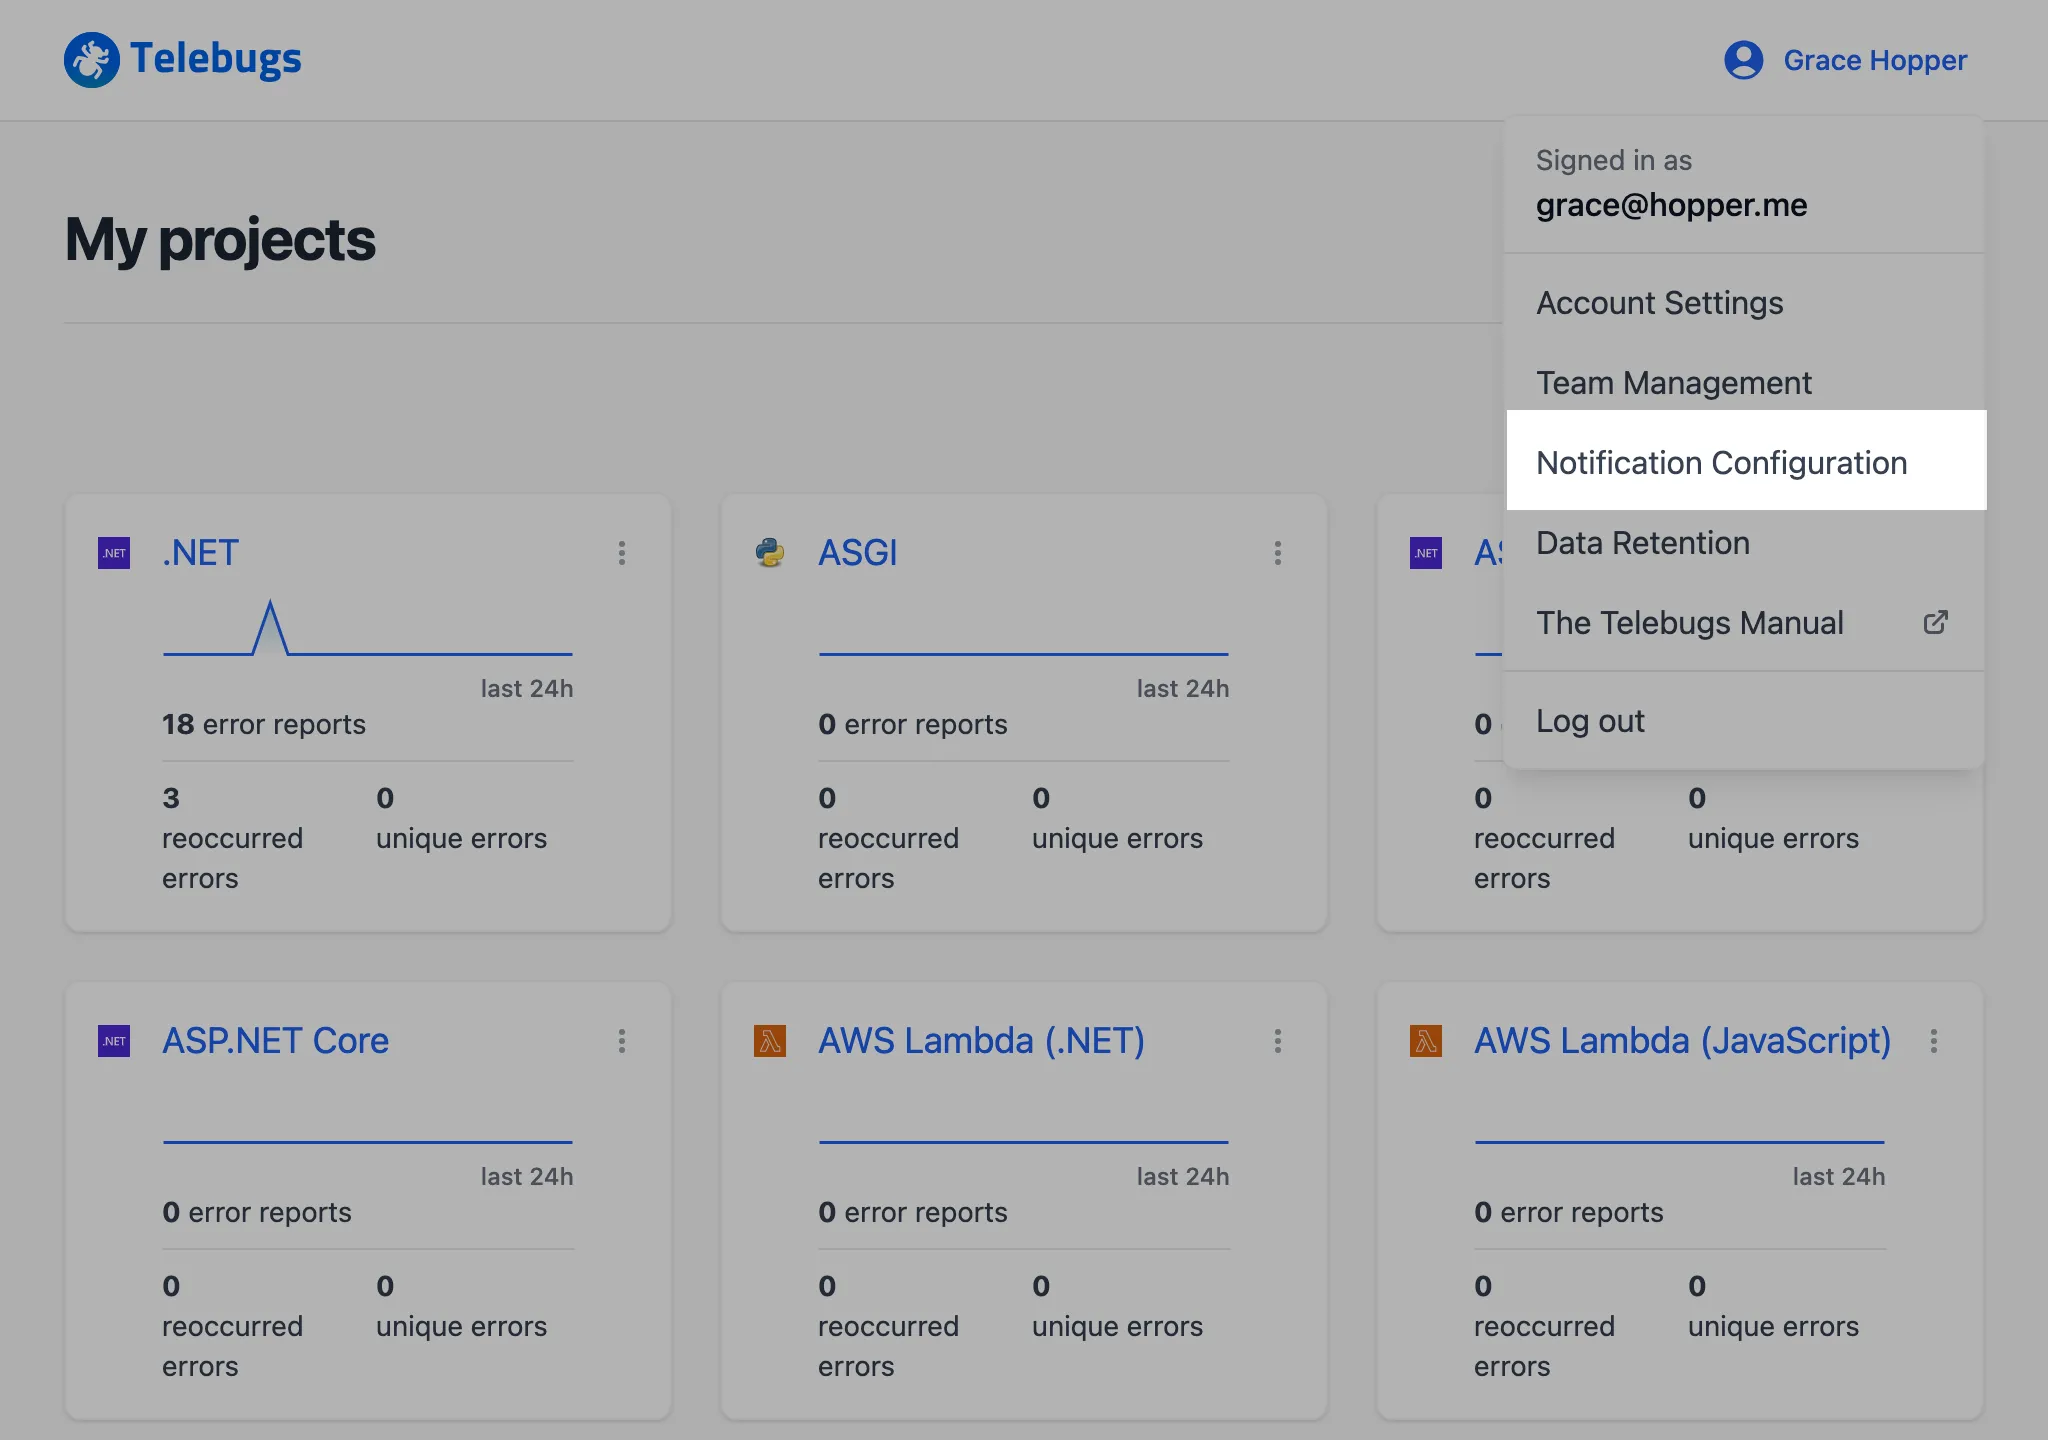
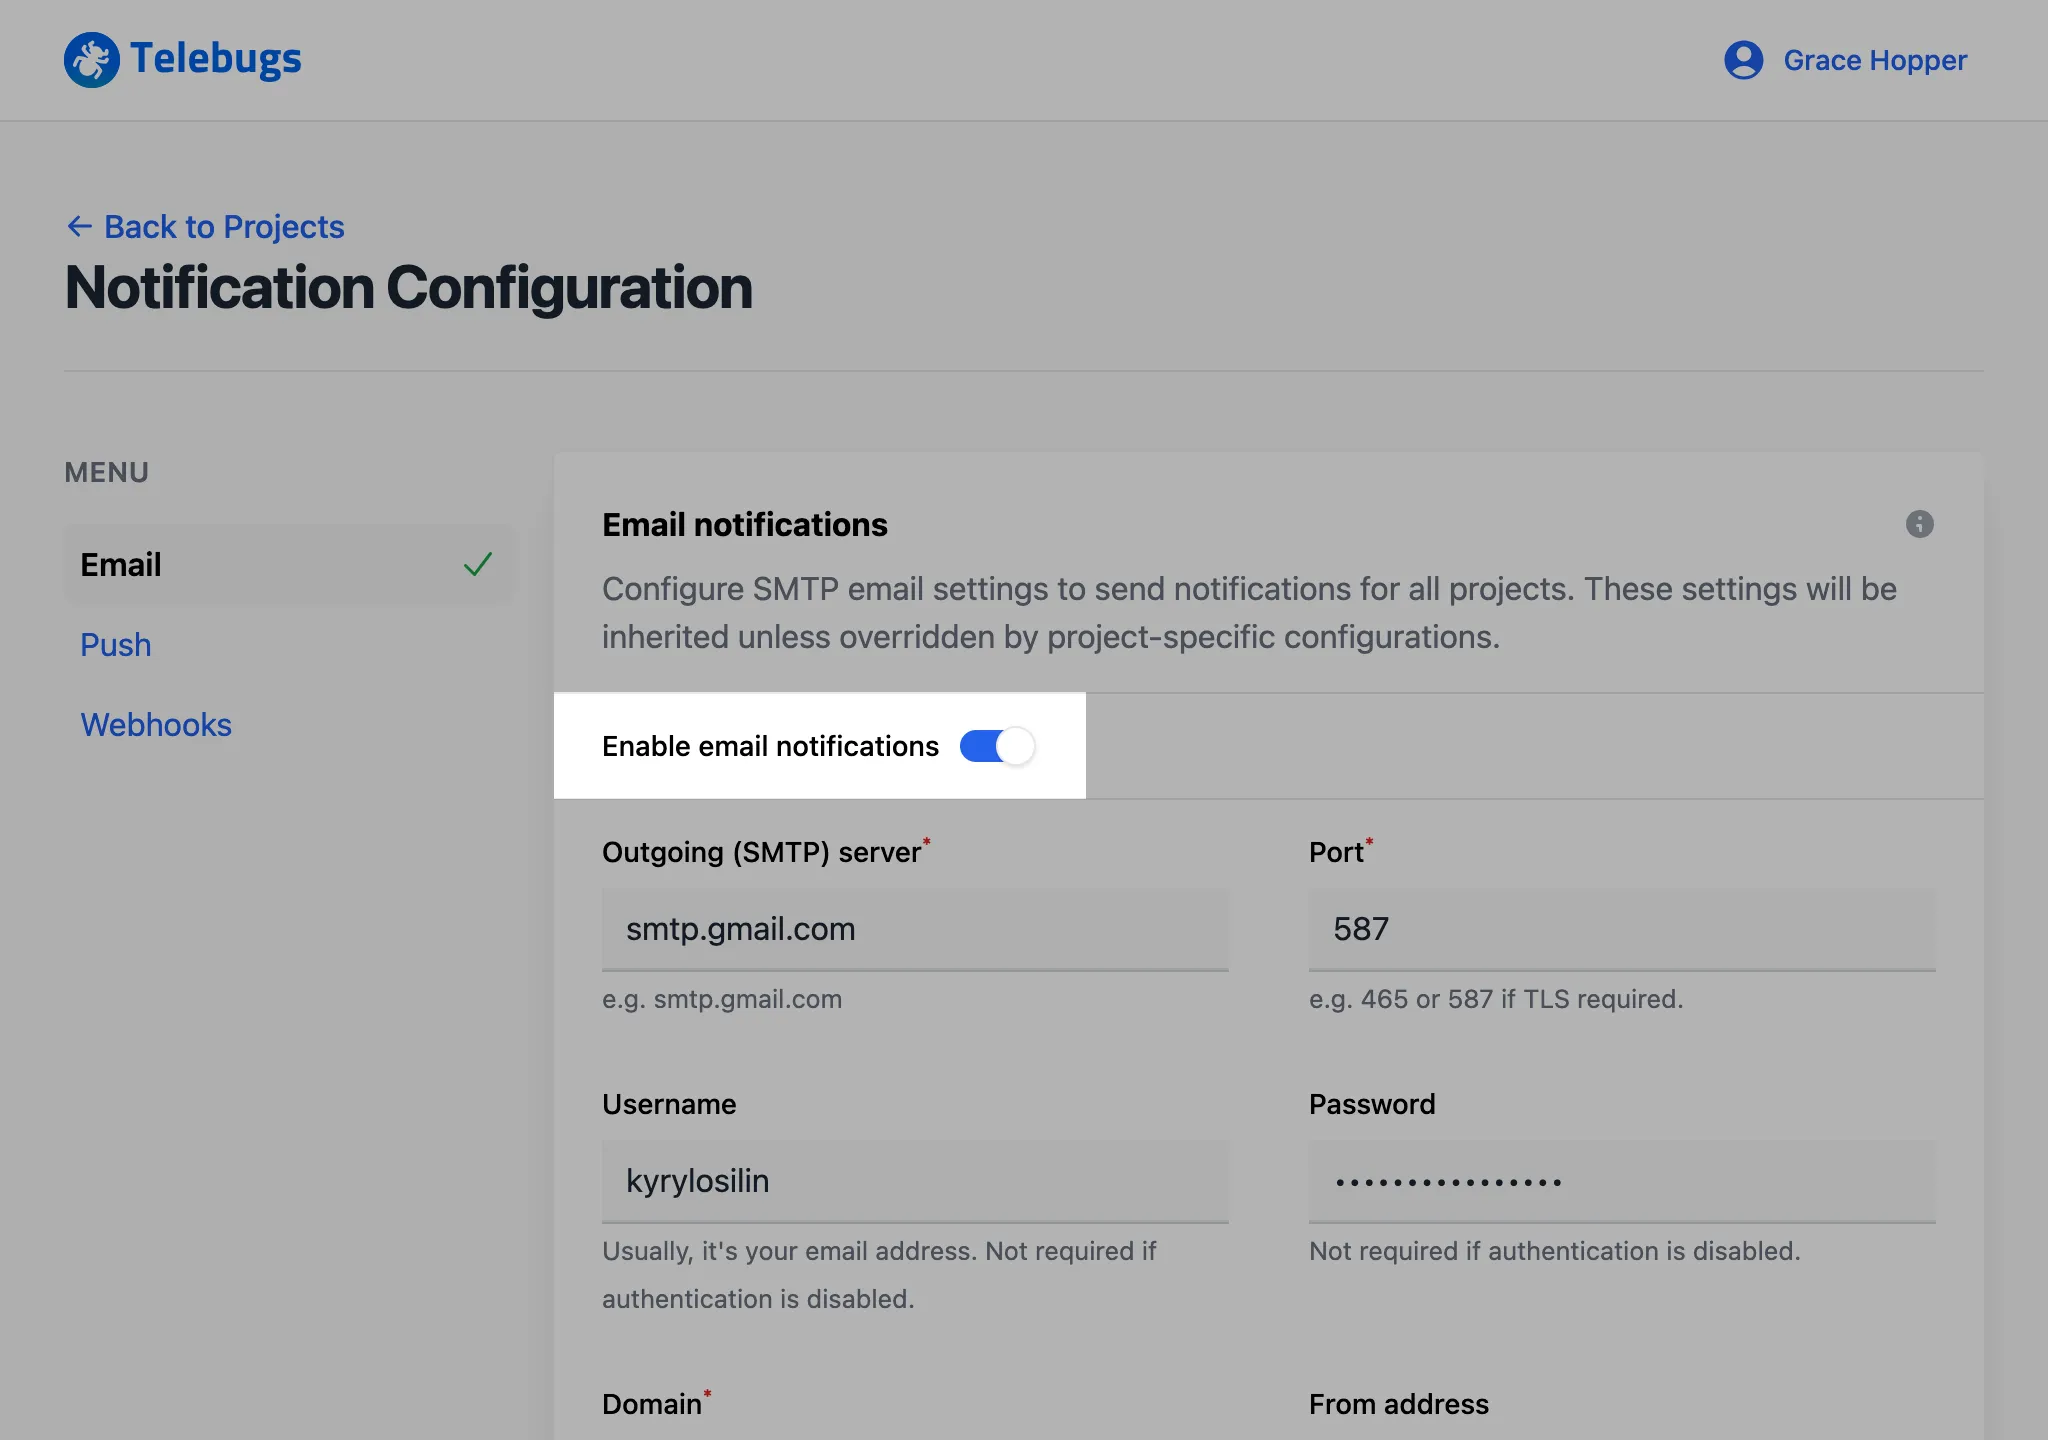
- In the sidebar on the left, ensure that Email is selected.
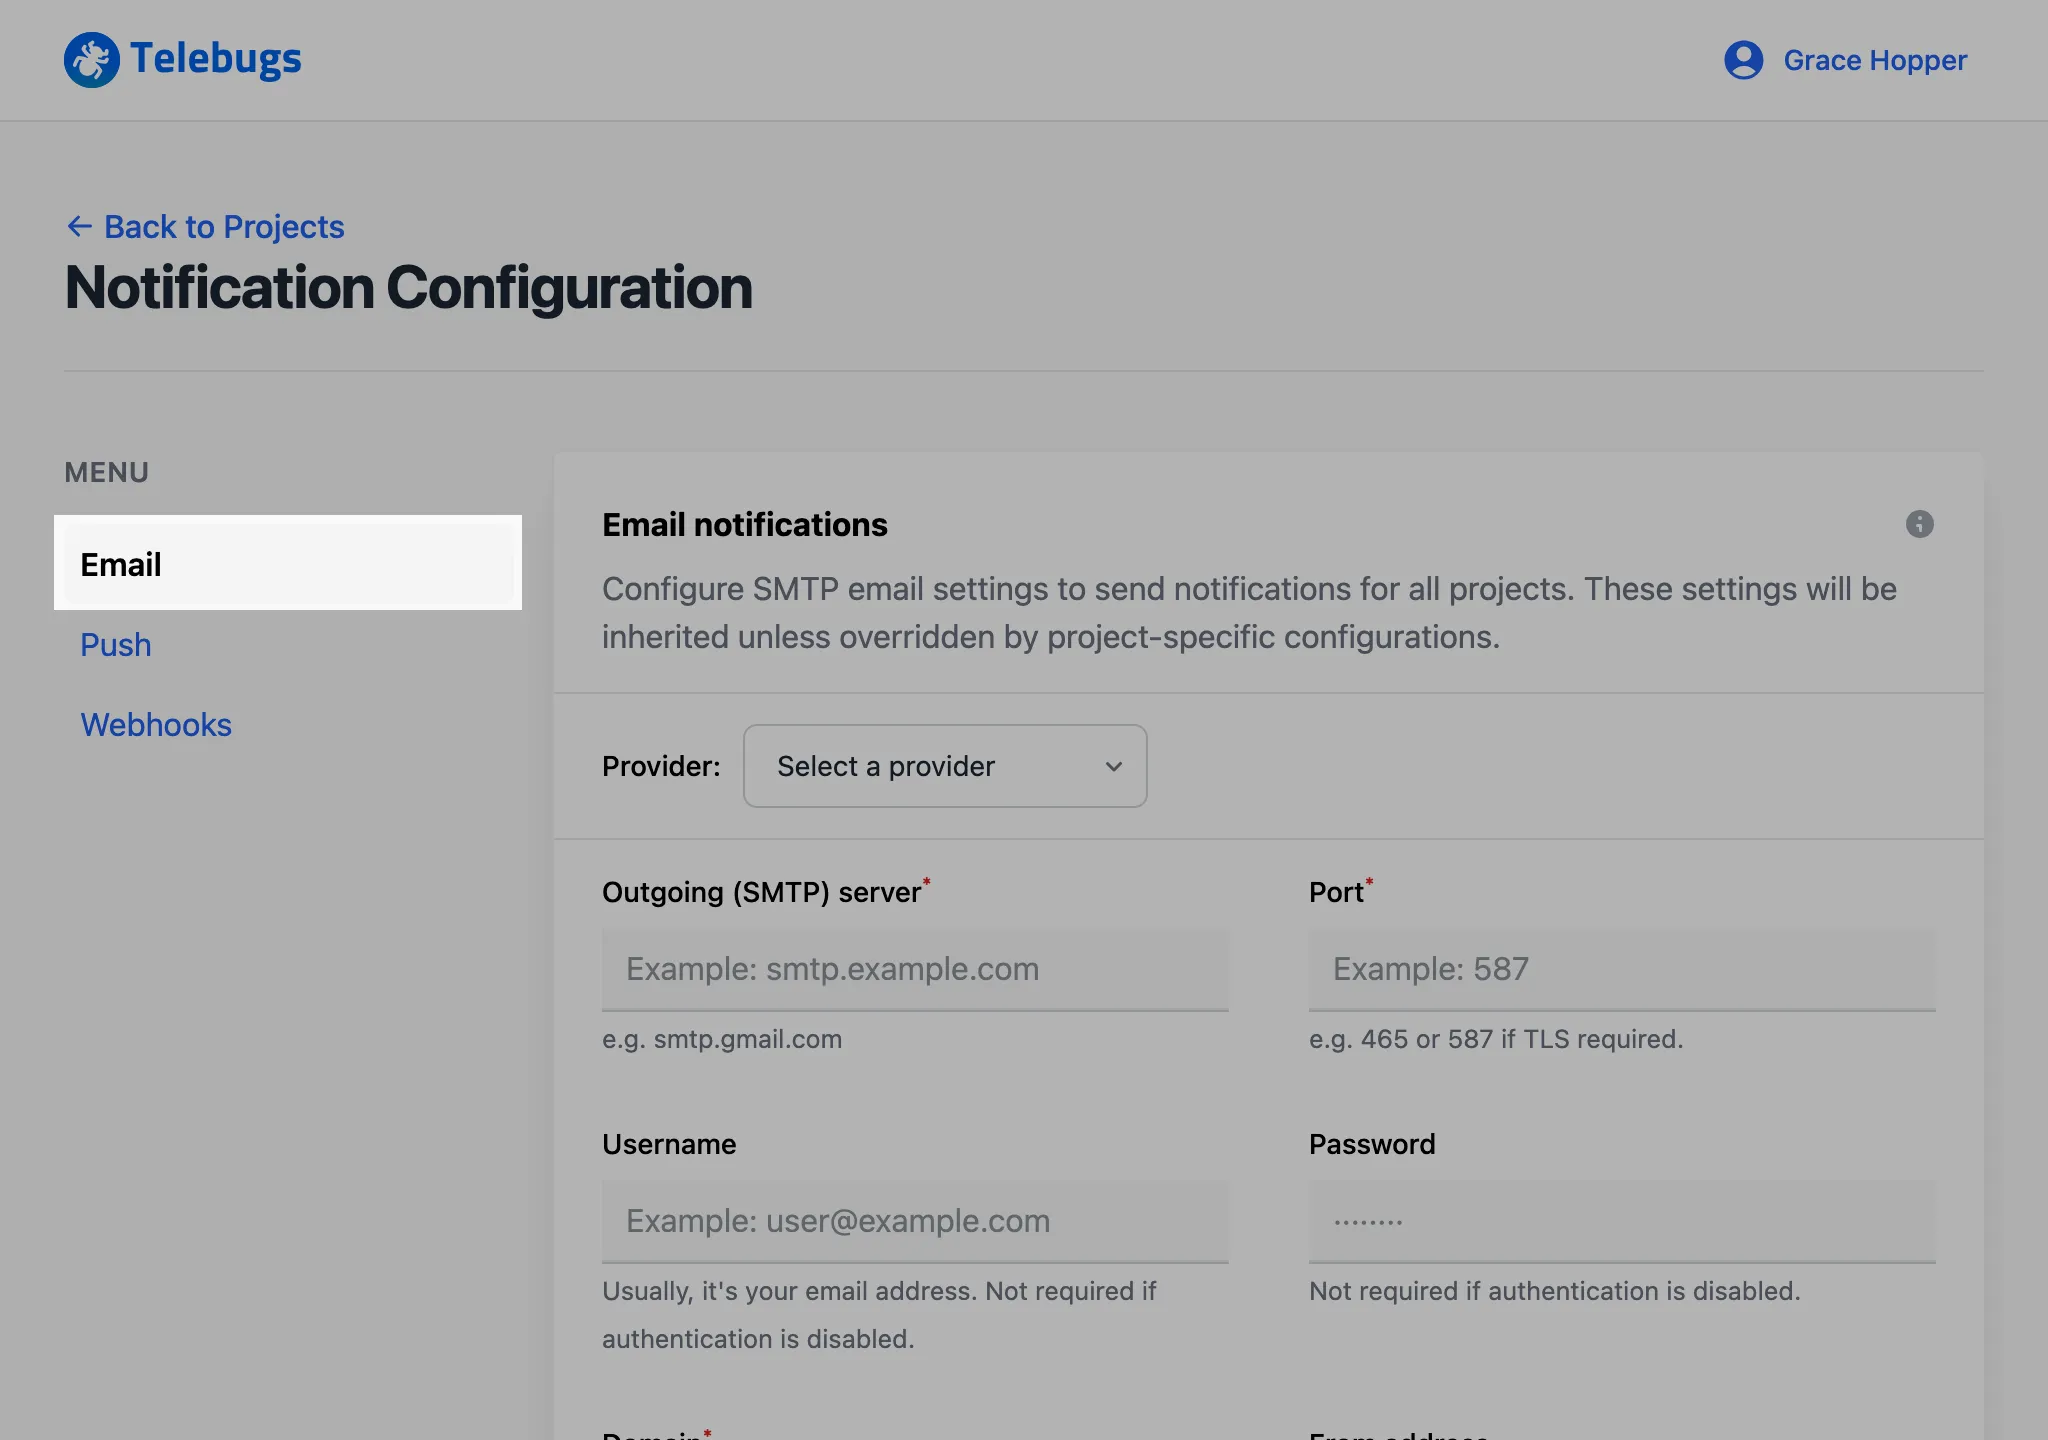
- Complete the Email notifications configuration form, then click Save Configuration to apply your settings.
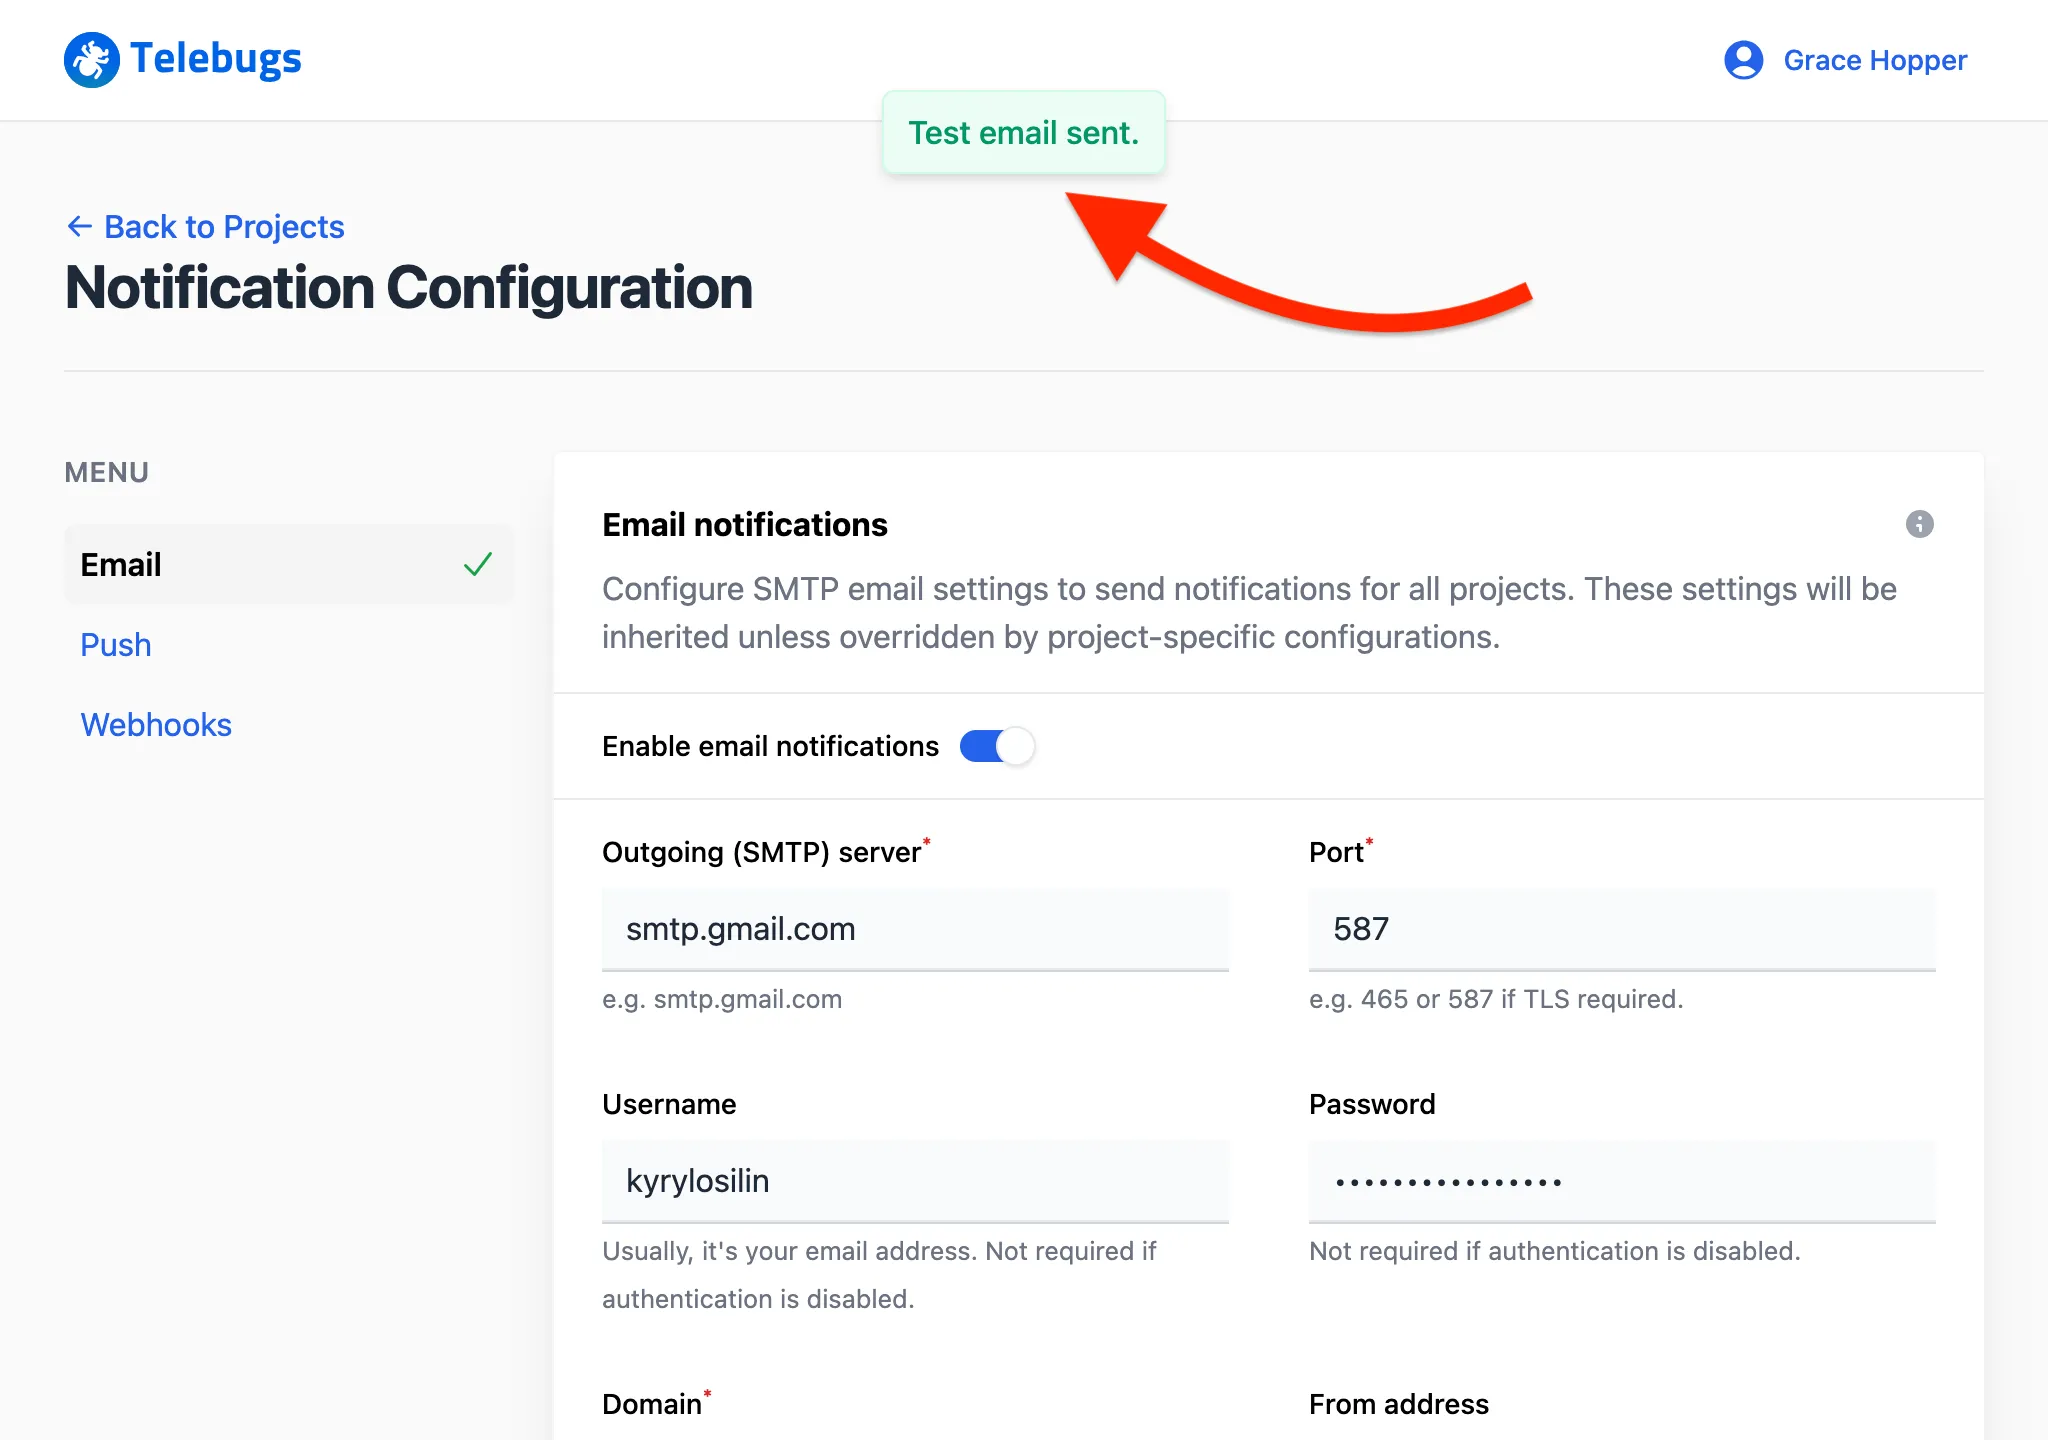
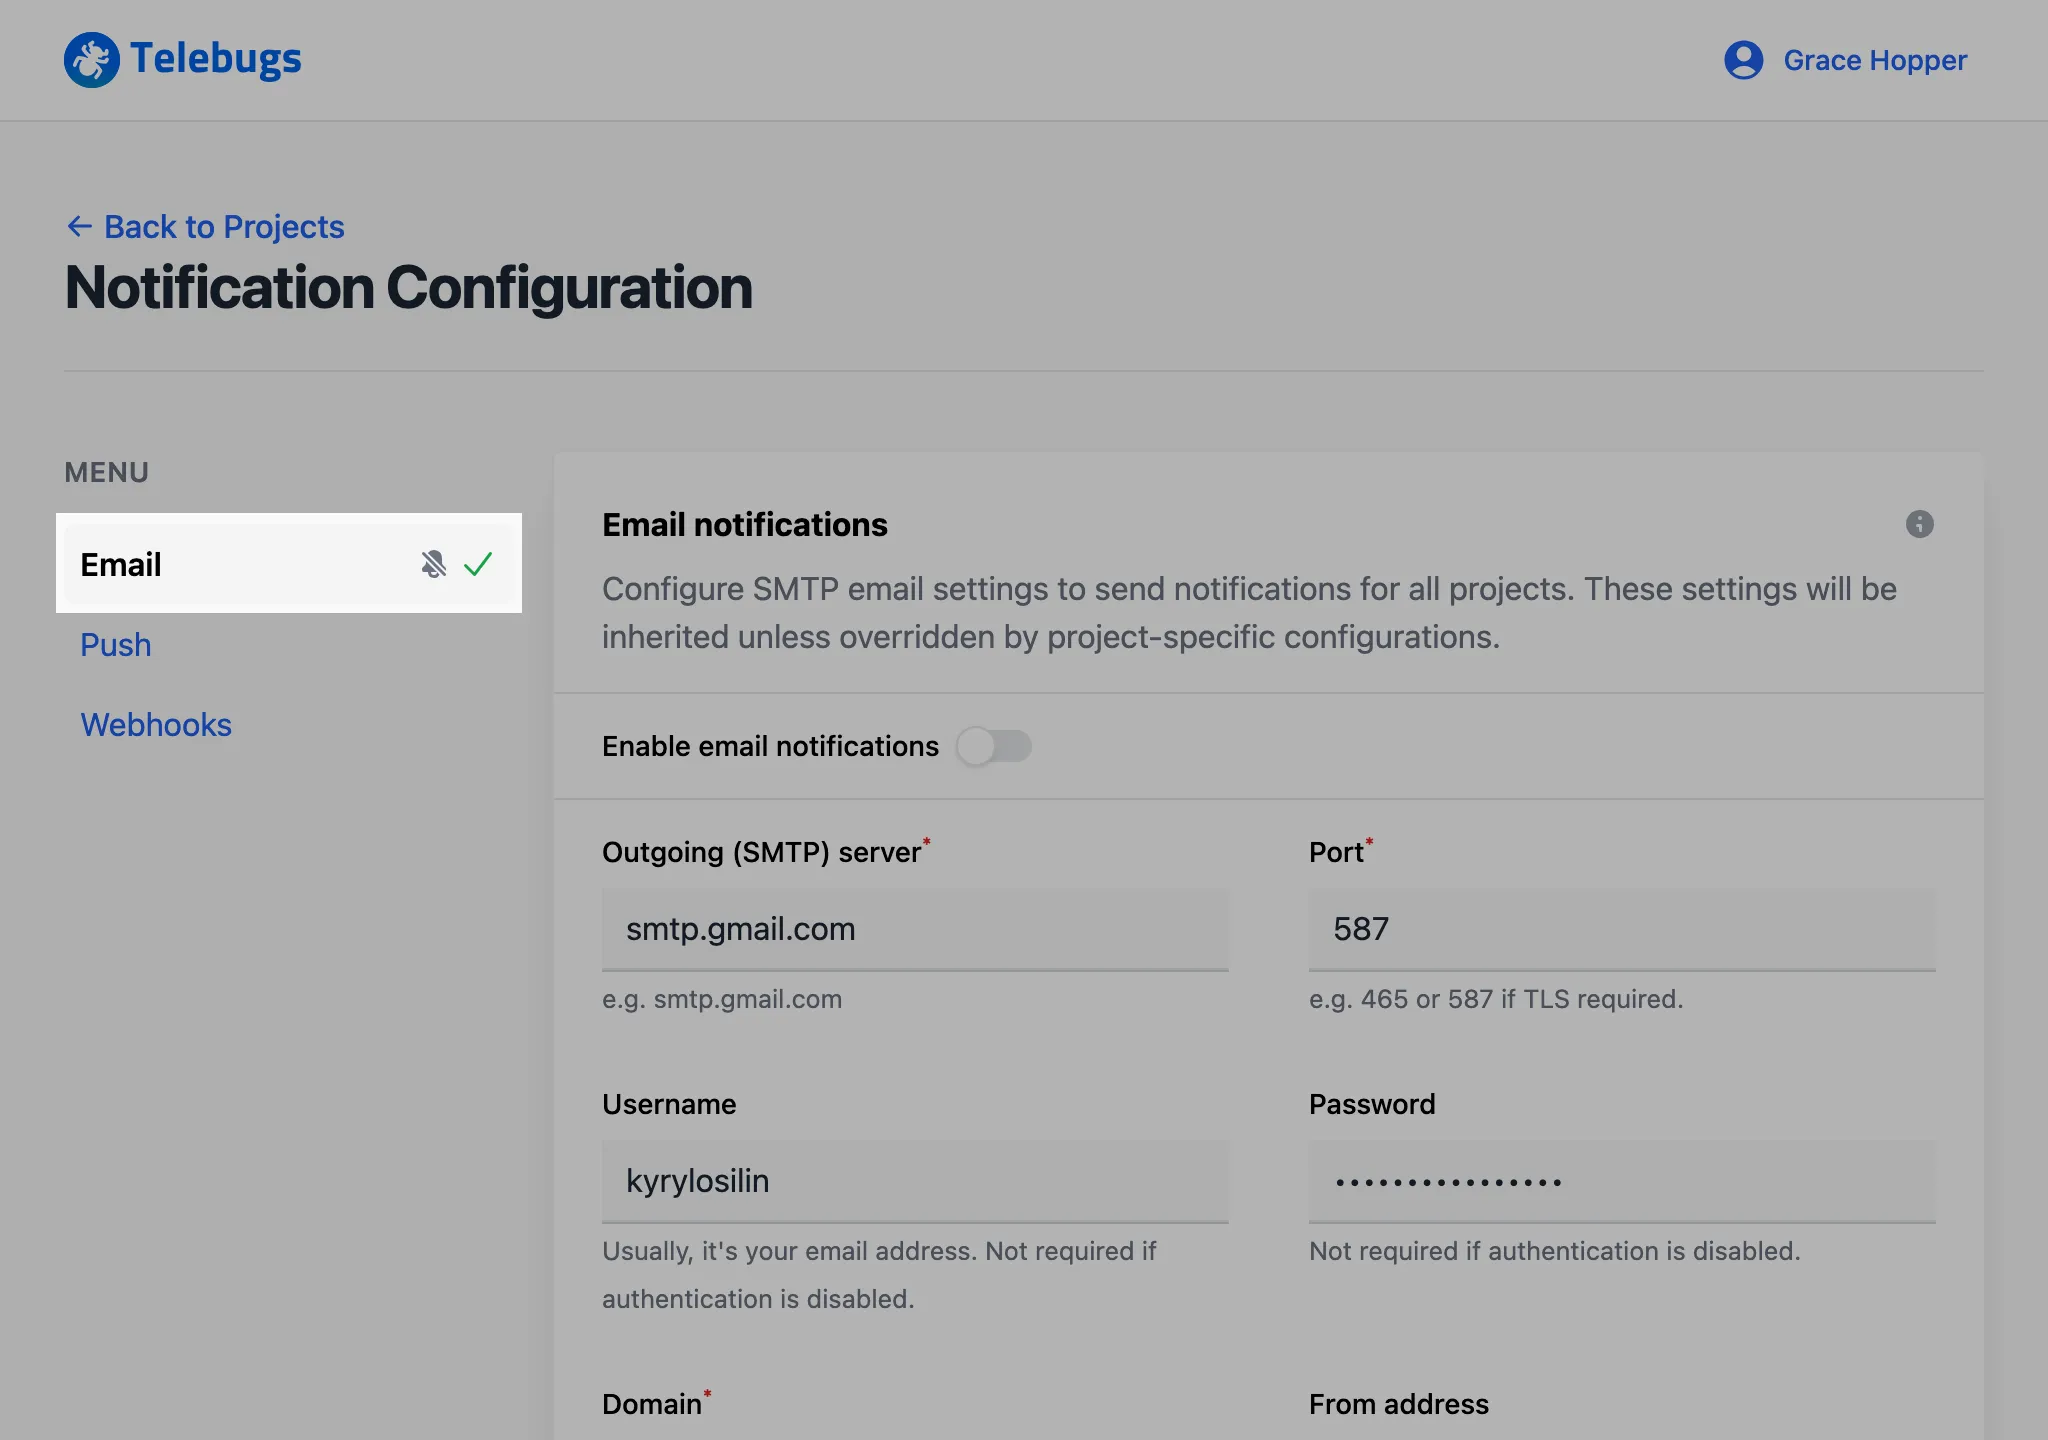
- Once the form is saved, a green checkmark appears next to Email in
the sidebar, indicating that email notifications are configured.

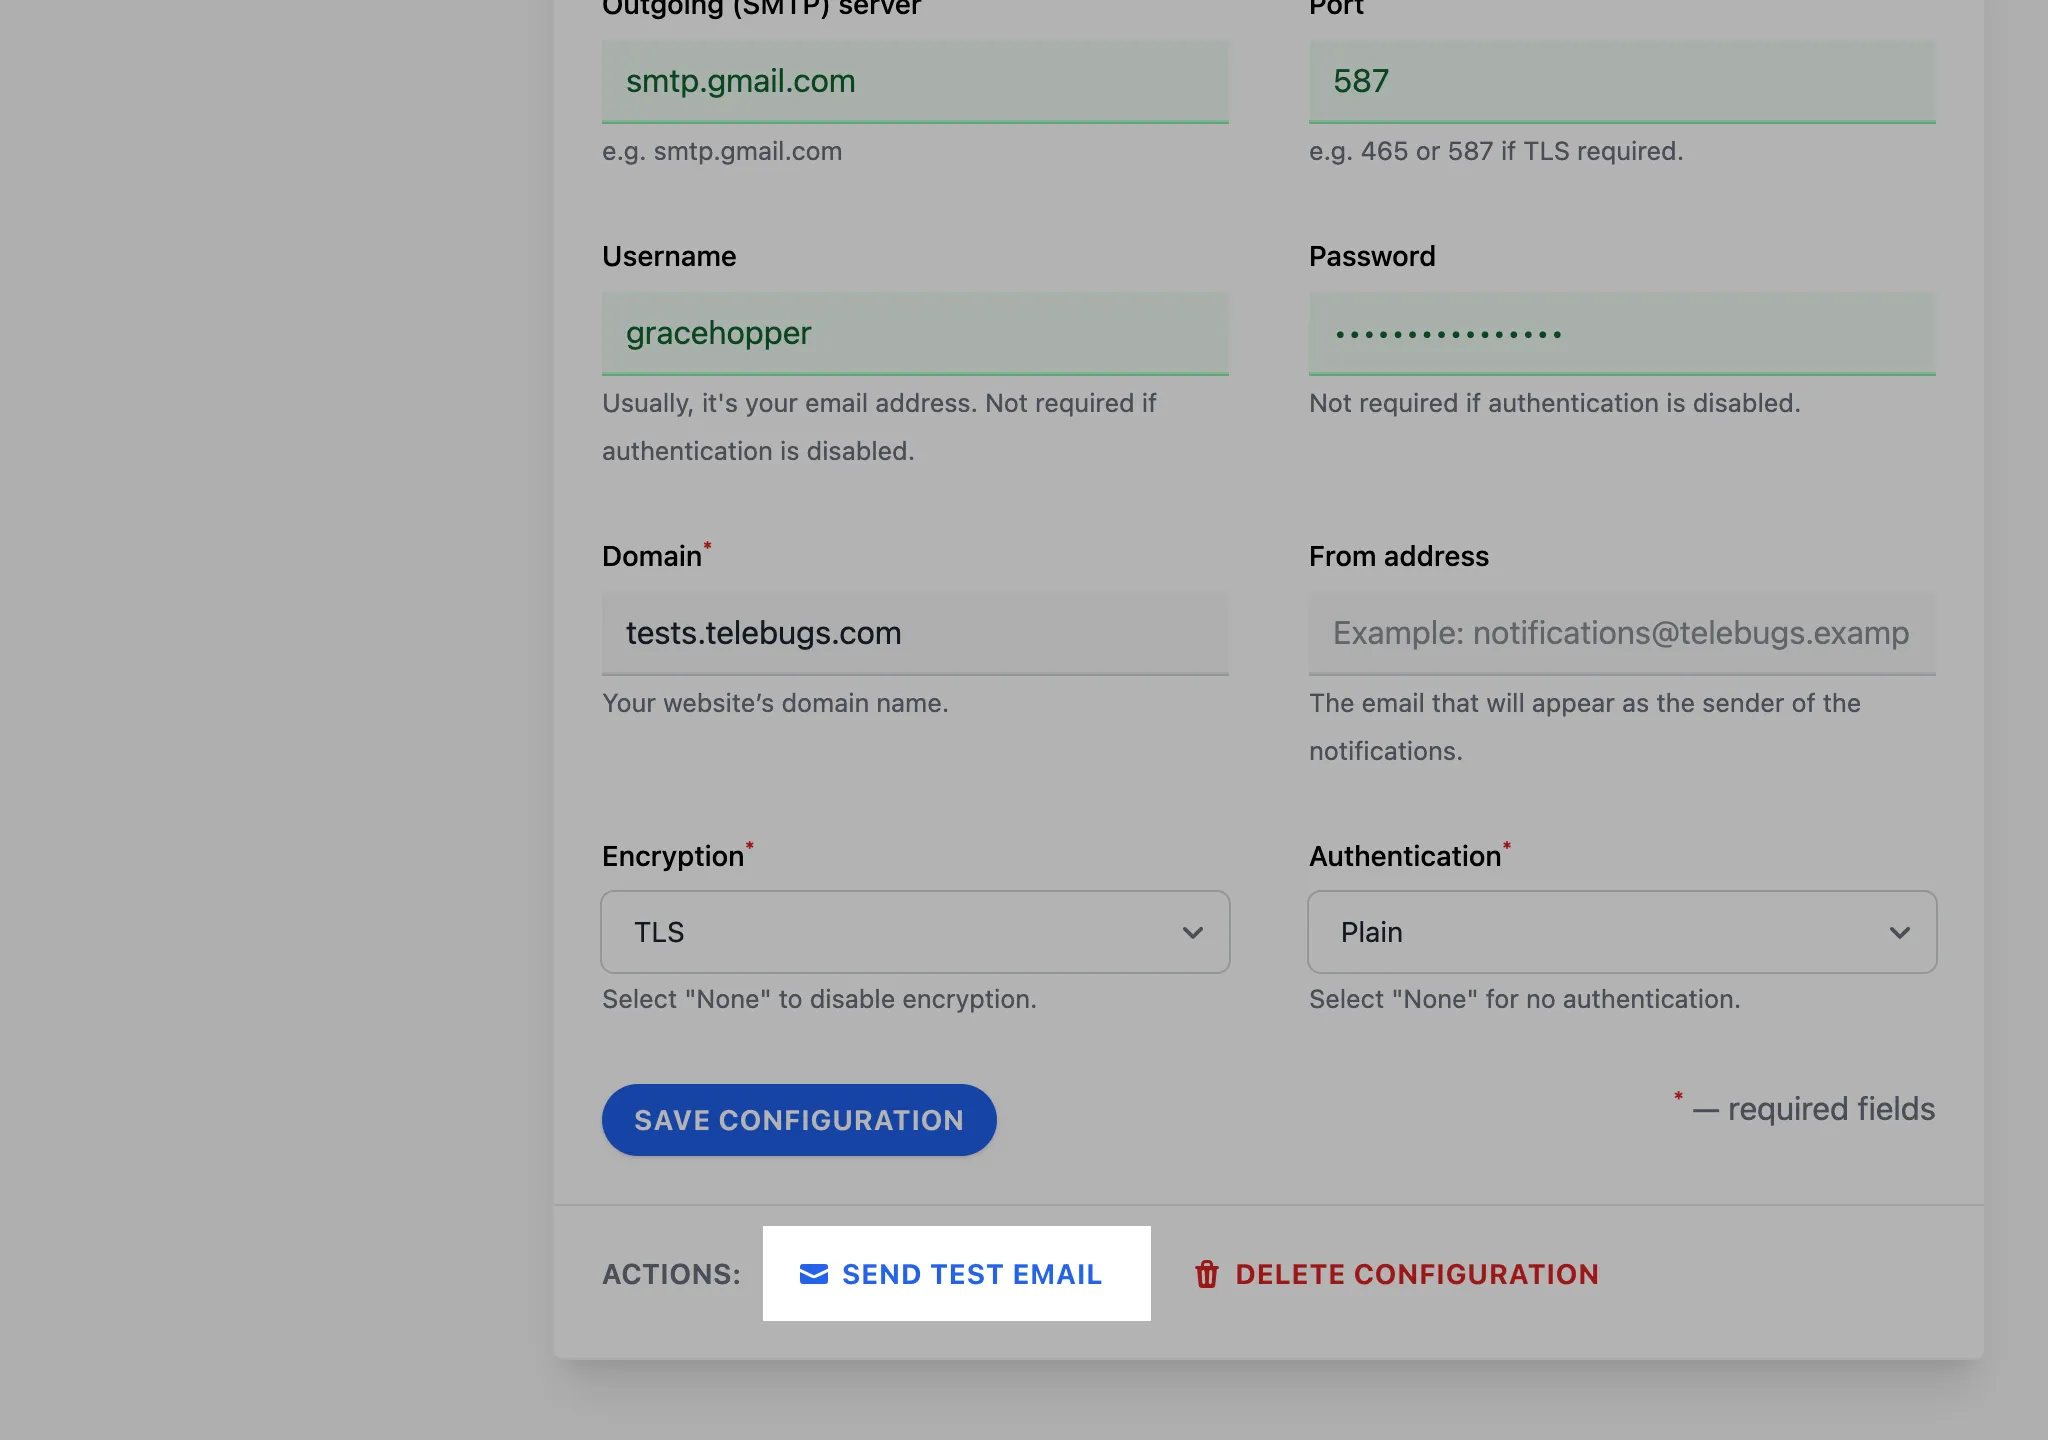
- Click the Send test email button to verify that notifications work.
- A confirmation toast appears, showing that the test email has been sent.
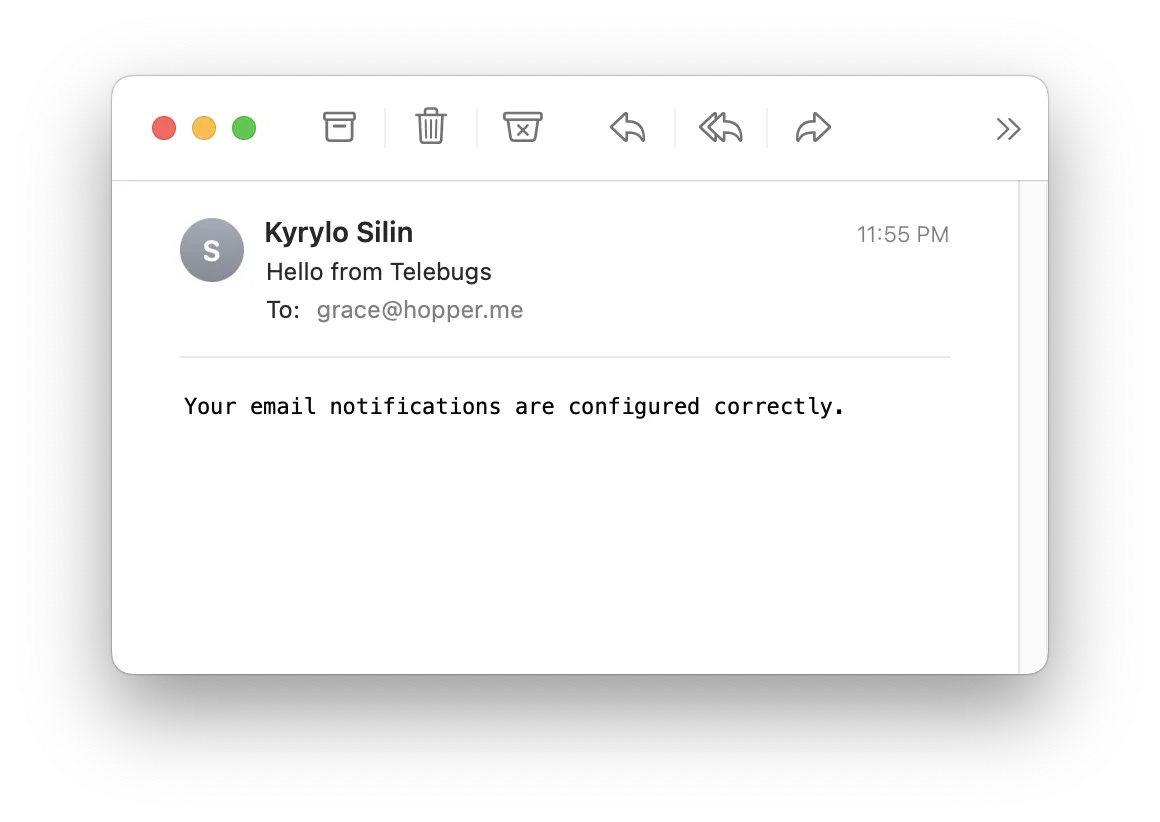
- Check your inbox; you should receive a test email at the address associated
with your Telebugs account.
- To disable all email notifications, toggle off Enable email notifications.
The sidebar icon will change to a bell with a slash, indicating that email notifications
are disabled.
- When a real error occurs, you will receive an email according to the rules
you configured in project settings. The email includes details such as the
error message and a link to the error report in Telebugs.
Email notifications configuration form 
The Email notifications configuration form defines global settings that all projects inherit. Complete the fields as follows:
- Provider: Select your email provider from the dropdown. Telebugs supplies preset configurations for common providers (Gmail, Outlook, etc.). Choose Custom SMTP to enter your own server settings manually.
- Outgoing (SMTP) server: Enter the SMTP server address used to send emails (for example, smtp.gmail.com for Gmail). This field is required.
- Port: Specify the port number for the SMTP server. Typically 587 (TLS) or 465 (SSL). This field is required.
- Username: Enter the username for your SMTP server — usually your email address or the username provided by your email service. Leave blank if authentication is not required. Required if your provider requires login.
- Password: Enter the password for your SMTP account. Leave blank if authentication is not required. Required if your provider requires login.
- Domain: The HELO domain used by the SMTP server (for example, example.com). This field is required.
- From address: The email address that appears as the sender of notification emails. Commonly, a no-reply address. Optional.
- Encryption: Select the encryption method for the SMTP connection: None, SSL, or TLS. This field is required.
- Authentication: Specify if SMTP authentication is required: None, Login, or Plain. If you choose an option other than None, you must provide a username and password. This field is required.