6 Creating your project 
Ready to begin tracking errors effectively? In Telebugs, Projects are your organizational foundation — they keep errors from different apps, languages, or environments neatly separated. Each project gets its own unique token, which your code uses to send errors directly to Telebugs. This setup makes debugging efficient, whether you’re managing a monolithic app or a suite of microservices.
This chapter guides you through a recommended workflow for setting up projects, shares tips on organization, and explains the creation form. By the end, you’ll have a project tailored to your needs — let’s build something robust!
How to organize your projects 
Think of projects as folders for your errors: group them logically to avoid clutter. Here’s a flexible approach — mix and match based on your setup:
- By language or framework: The go-to method! Create one for Ruby errors, another for JavaScript bugs. This keeps context crystal clear (e.g., backend vs. frontend errors).
- By subsystem: Got web requests, background jobs, or cron tasks? Split them out if you want granular control over notifications or access.
- By environment: Track staging bugs separately from production ones. Pro tip: Use naming conventions like "App-Prod" and "App-Staging" for easy spotting.
- Custom organization: Feeling rebellious? Lump everything into one mega-project or slice it by team/department. Telebugs doesn’t judge — do what fits your workflow!
Using apps to organize projects 
For a convenient way to group related projects, leverage Apps in Telebugs. Apps are perfect for combining backend and frontend projects, the most common setup for web applications. For example, you can create an app that groups your Ruby backend and JavaScript frontend projects together for unified management. This approach simplifies navigation and keeps related projects organized. To learn how to create, edit, pin, or delete an app, see the Apps section for detailed instructions.
Example project organization 
Let’s make this real with a sample web app. Imagine you’re running a blog built on Ruby on Rails with some JavaScript flair:
Web app (Ruby on Rails) 
- Project name:
Blogorblog.example.com - Purpose: Snag those sneaky server-side Ruby errors from your Rails backend. Perfect for tracking controller crashes or database hiccups.
Frontend (JavaScript) 
- Project name:
Blog (JavaScript)orblog.js - Purpose: Catch browser blunders like DOM mishaps or API call fails. Keeps client-side issues isolated from server errors.
This split lets you assign different teams (e.g., backend devs vs. frontend wizards) and tailor notifications. Bonus: Spot patterns faster, like if JS errors spike after a Rails deploy!
The ‘New Project’ form 
Fire up a new project by clicking the New Project button in the top-right of your dashboard. You’ll land on this sleek form — fill it out, hit create, and you’re off to the races!
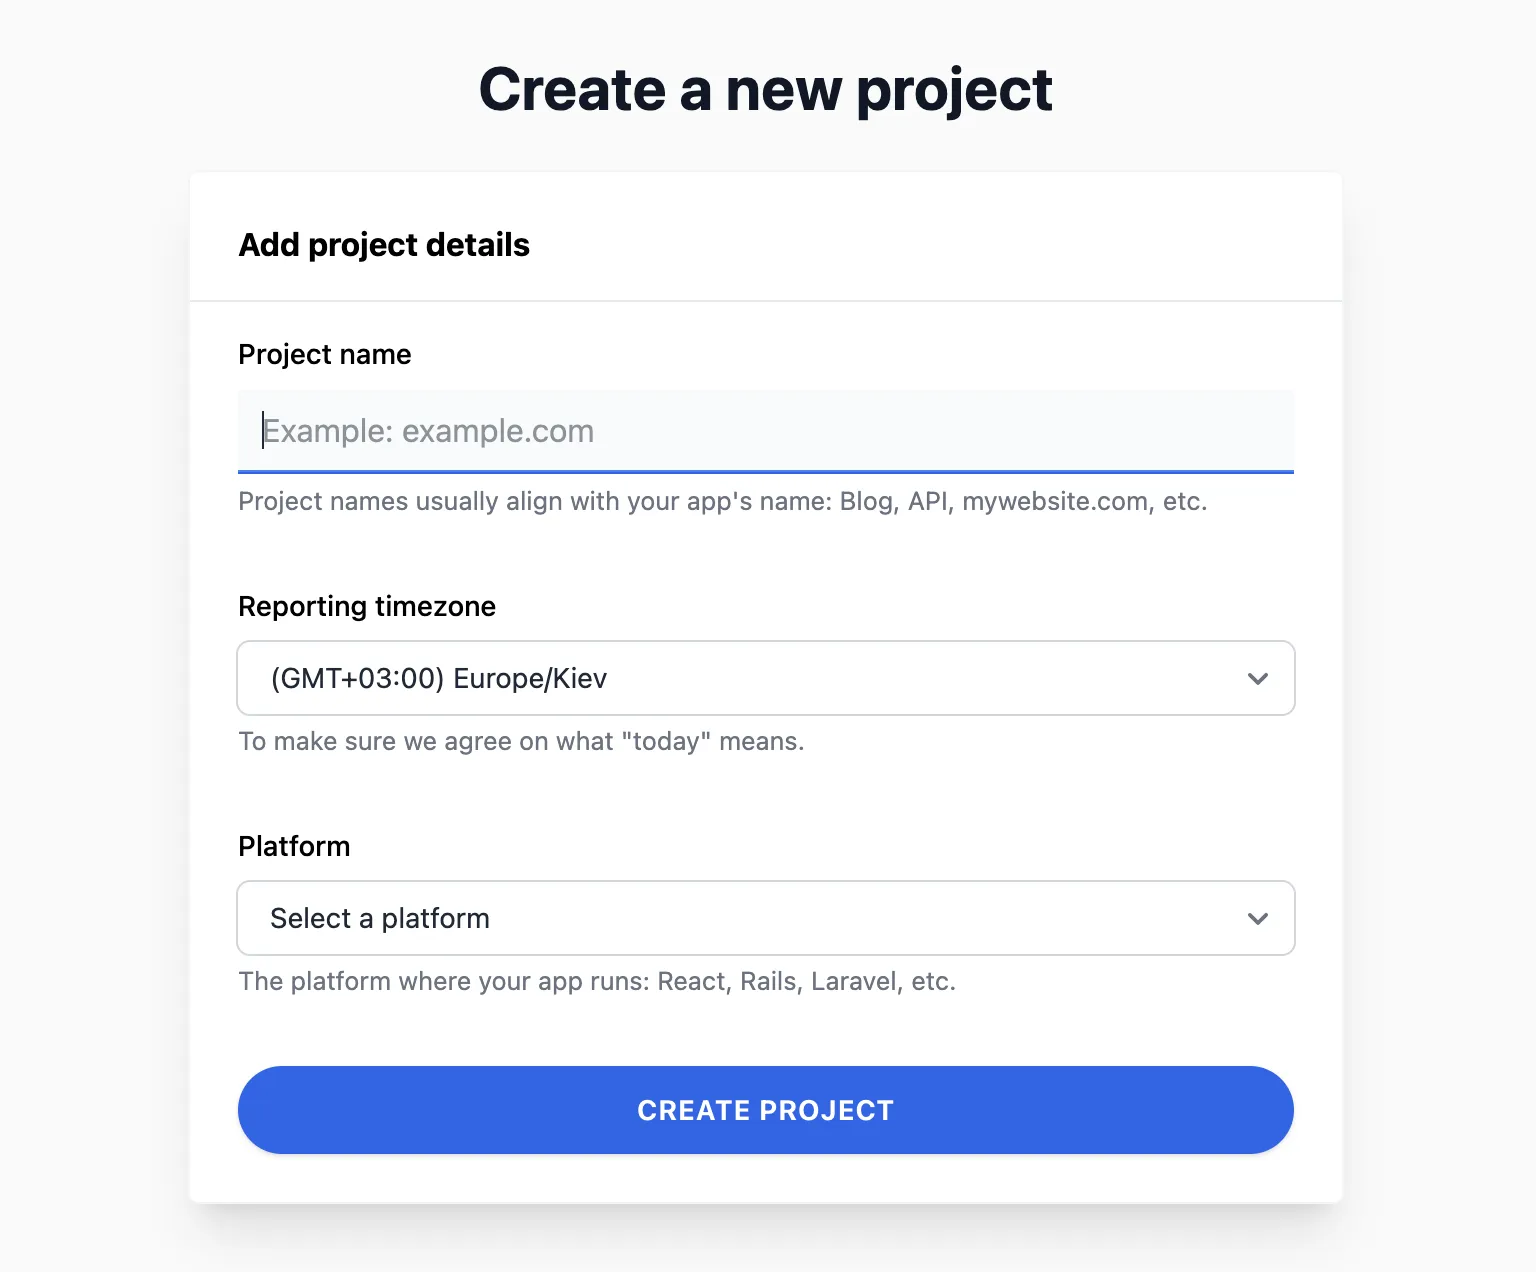
Breaking down the fields so you know exactly what to pick:
| Name | Description |
|---|---|
| Project name | Your project’s alias — go wild with characters! Make it snappy and descriptive, like "Ecommerce Backend" for quick recognition. |
| Reporting timezone | Starts with your local time, but tweak it to match your servers or team (UTC for global ops?). This powers "today’s errors" views and graphs — super handy for time-sensitive debugging. |
| Platform | Choose your tech stack (e.g., Ruby, JavaScript). Right now, it jazzes up your project icon and tunes SDK guides; future updates might add platform-specific smarts. |
Once created, grab that shiny new token and plug it into your app’s config. Test by triggering a harmless error — watch it appear in your dashboard! With projects set, you’re primed for the next step: integrating Telebugs into your code. Flip to the integration chapter and let’s get reporting!