8.3.1 Configuring Slack notifications 
Slack webhooks allow Telebugs to send error notifications directly to a Slack channel or user. This integration provides real-time alerts, enabling teams to monitor and respond to errors efficiently.
Configuring a Slack webhook 
To configure a Slack webhook in Telebugs, follow these steps:
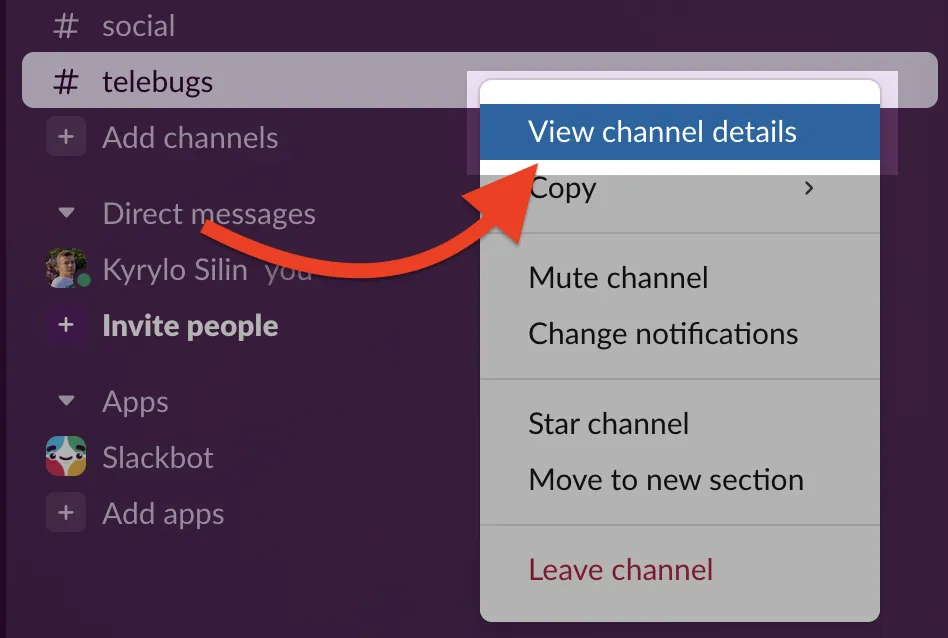
- In your Slack workspace, right-click on a channel name and select View channel details.
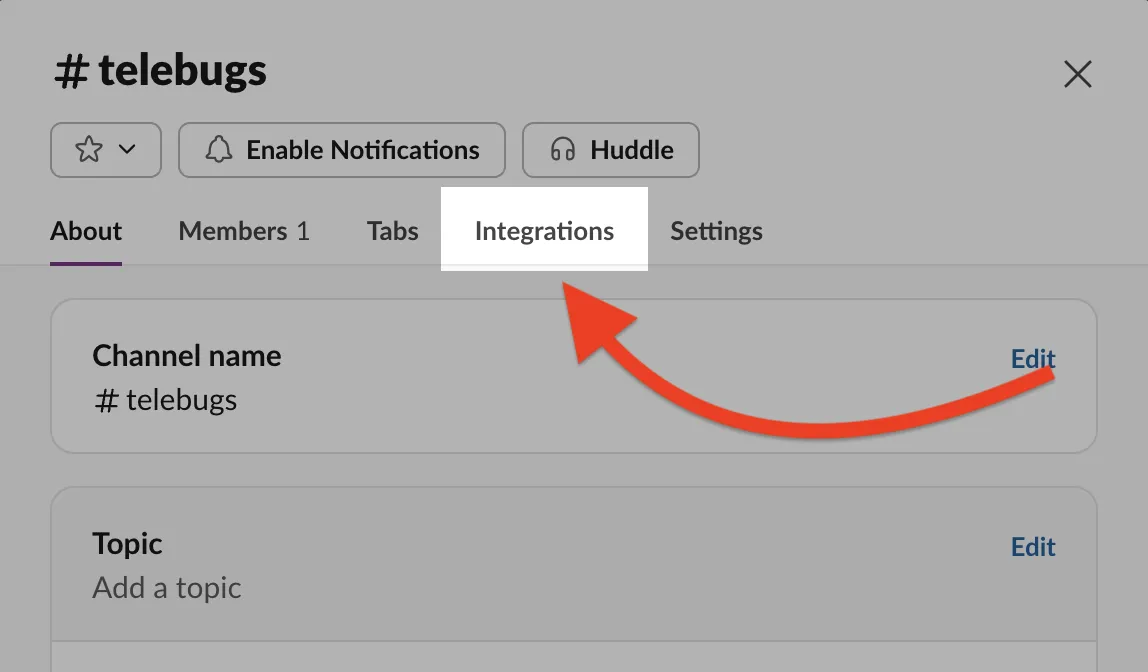
- Select Integrations tab to add the app.
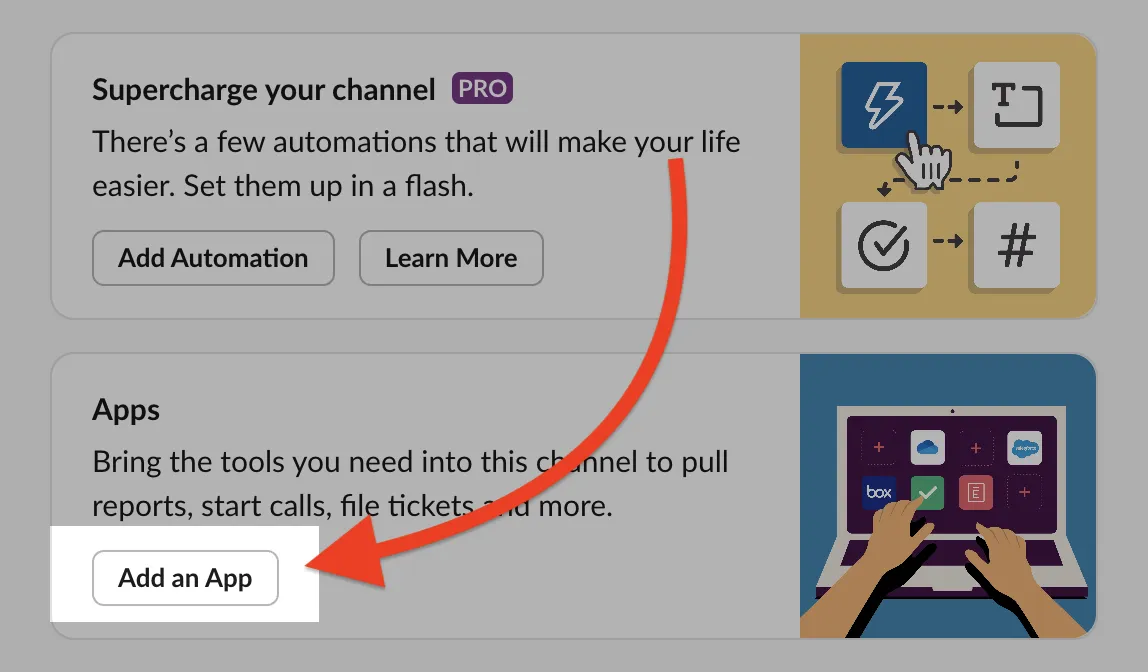
- Click the Add an app button to open the Slack App Directory.
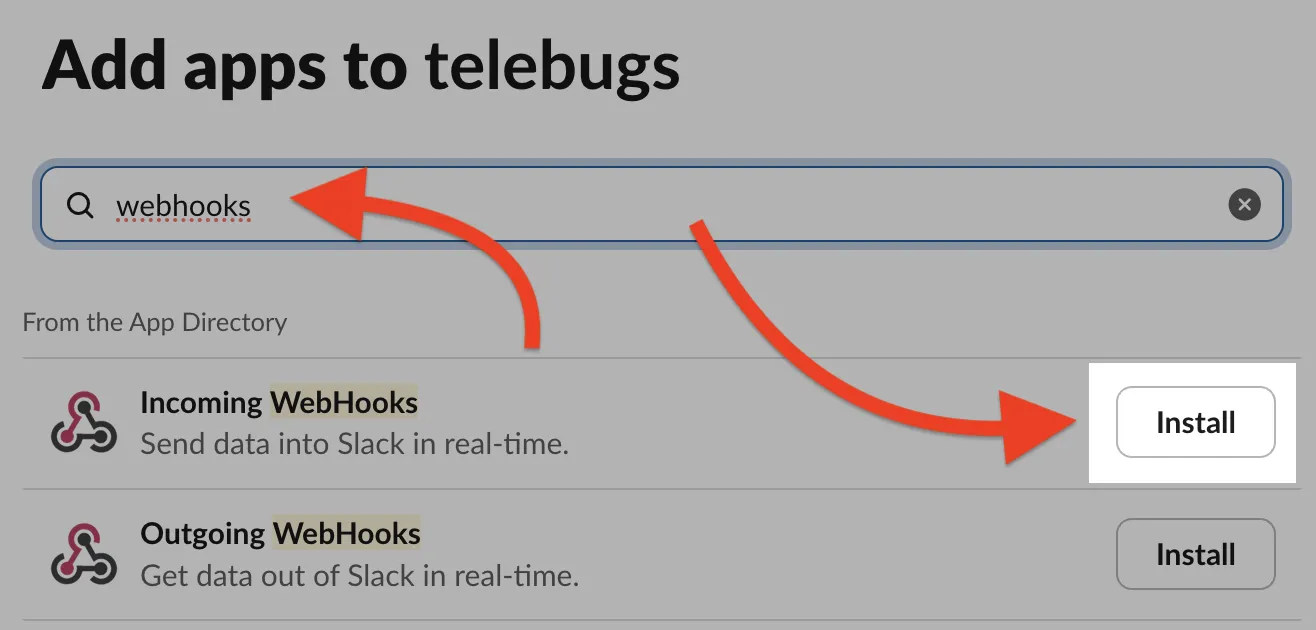
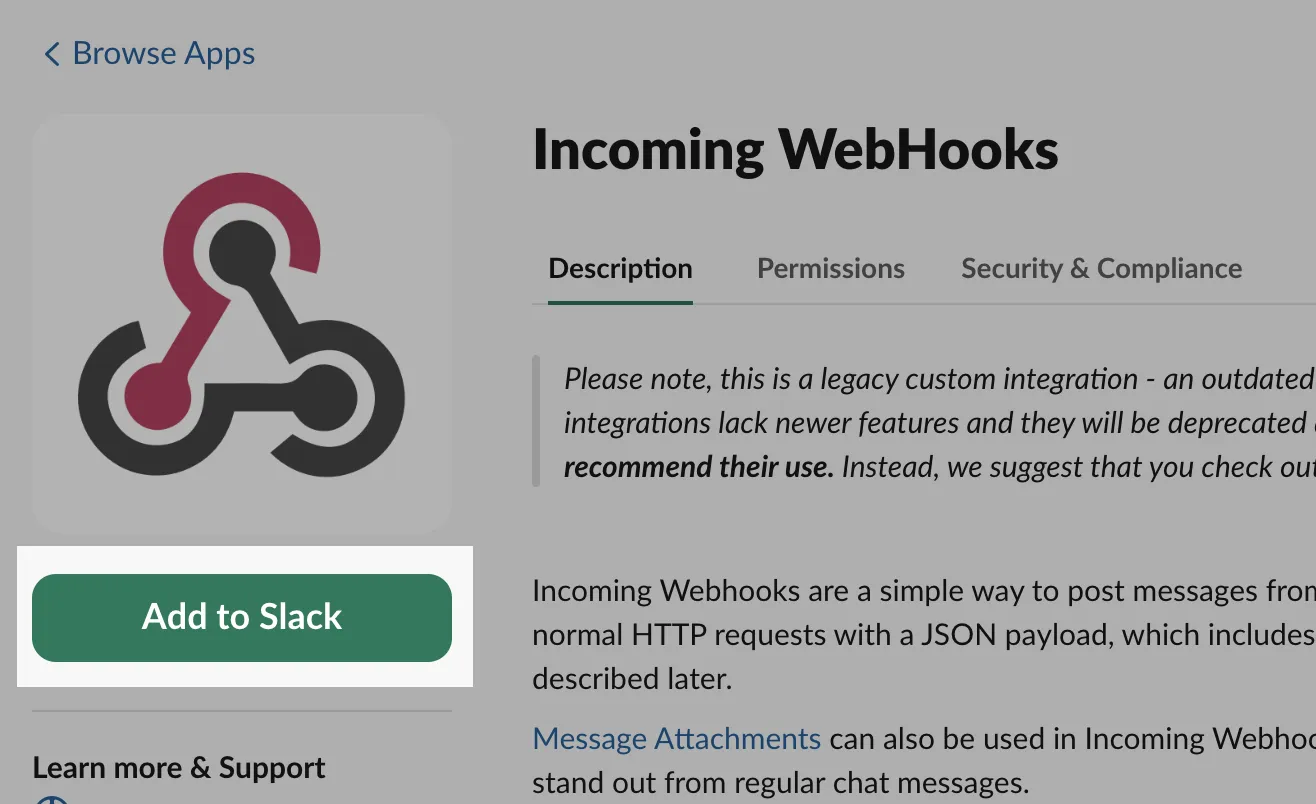
- Search for Incoming Webhooks and select it from the search results, then click Install.
- Click Add to Slack to create a new webhook configuration.
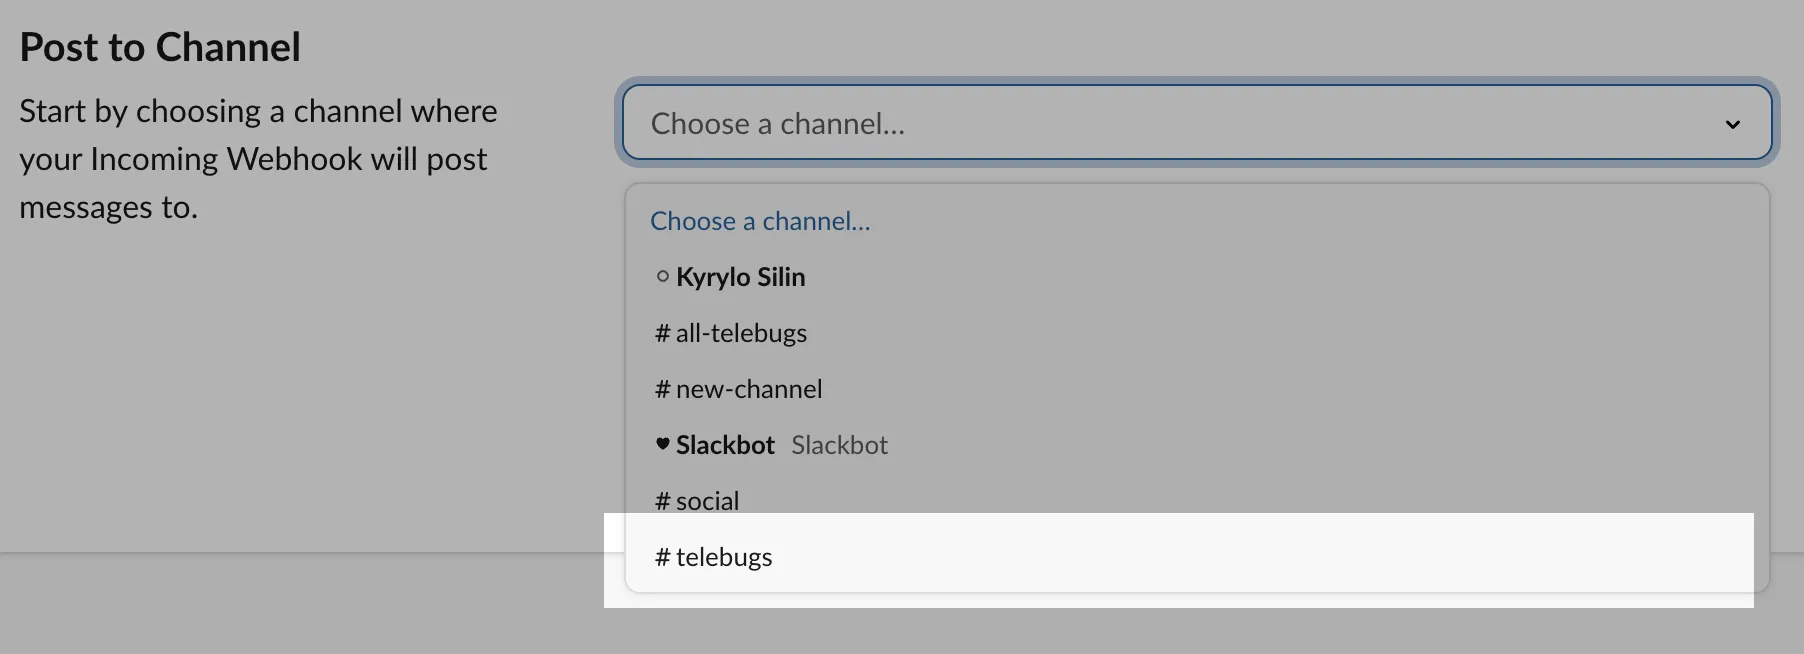
- Choose the channel where notifications will be posted (e.g., "#telebugs") from the Post to Channel dropdown.
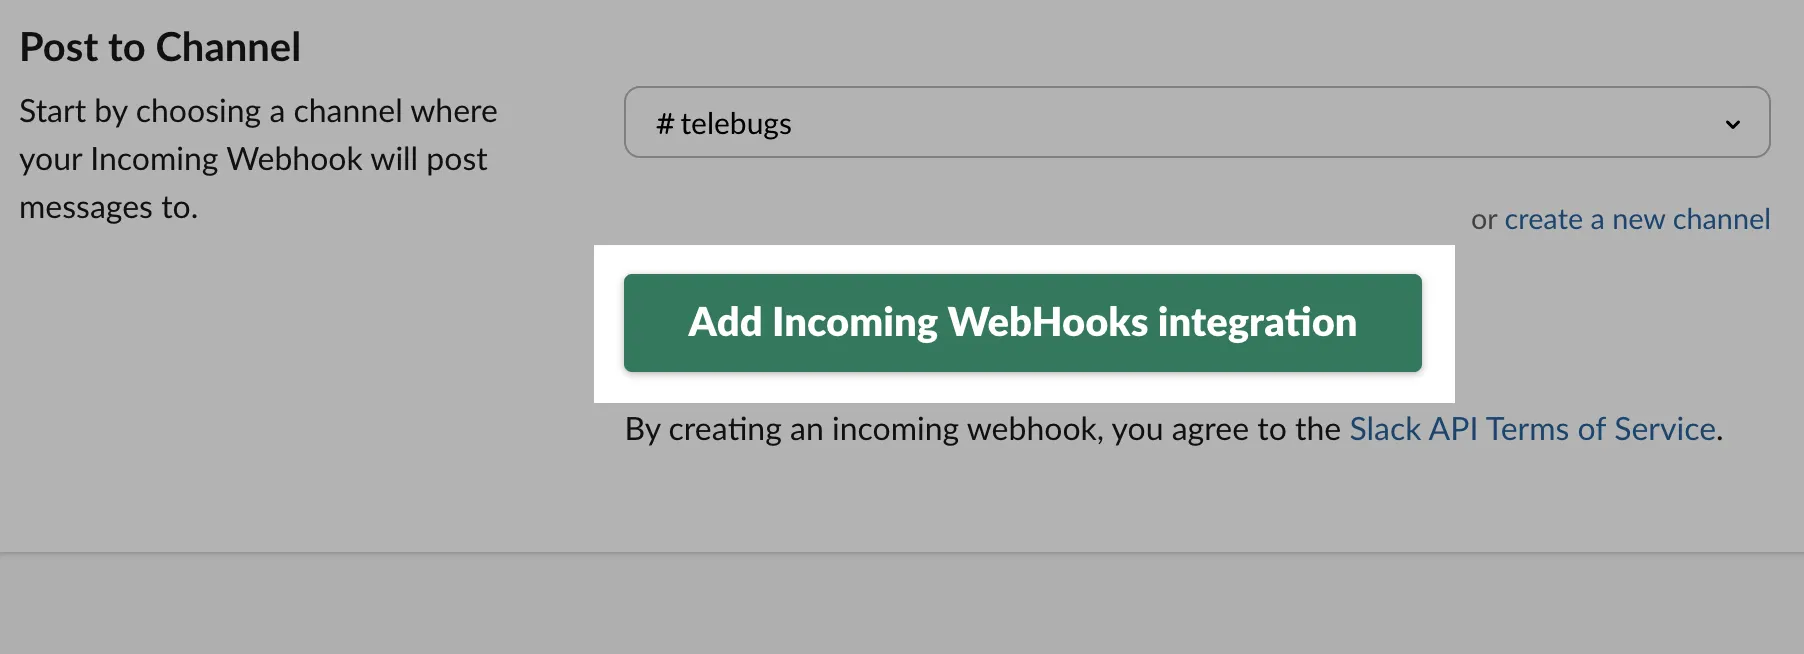
- Confirm the channel and click Add Incoming Webhooks integration.
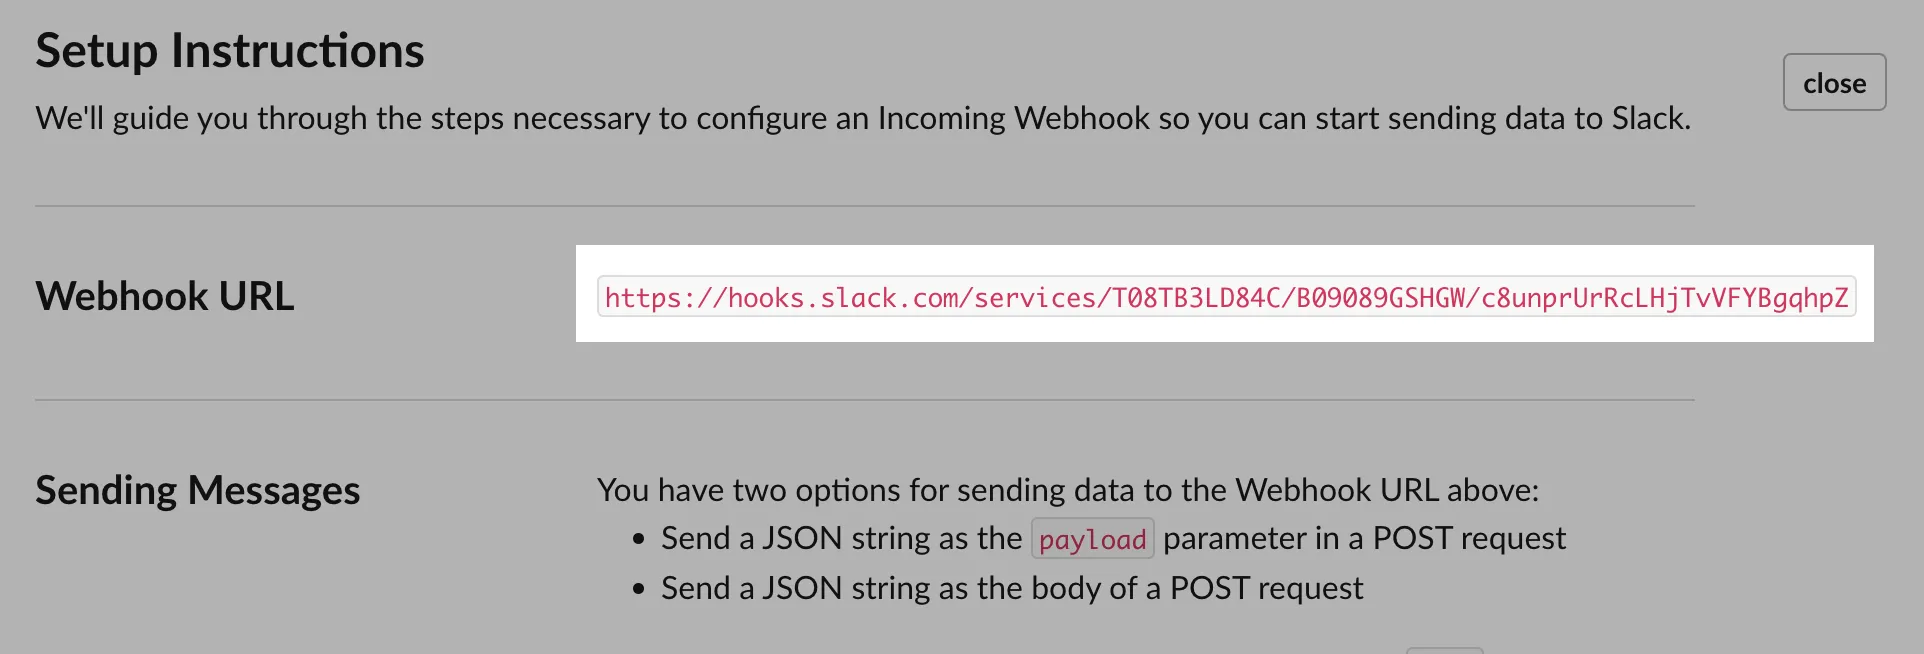
- Copy the generated webhook URL from the Setup Instructions section.
Completing the webhook configuration in Telebugs 
Navigate back to Telebugs to complete the webhook configuration:
- In Telebugs, go to Notification Configuration and select Webhooks.
- Click Create Configuration and choose Slack as the template type.
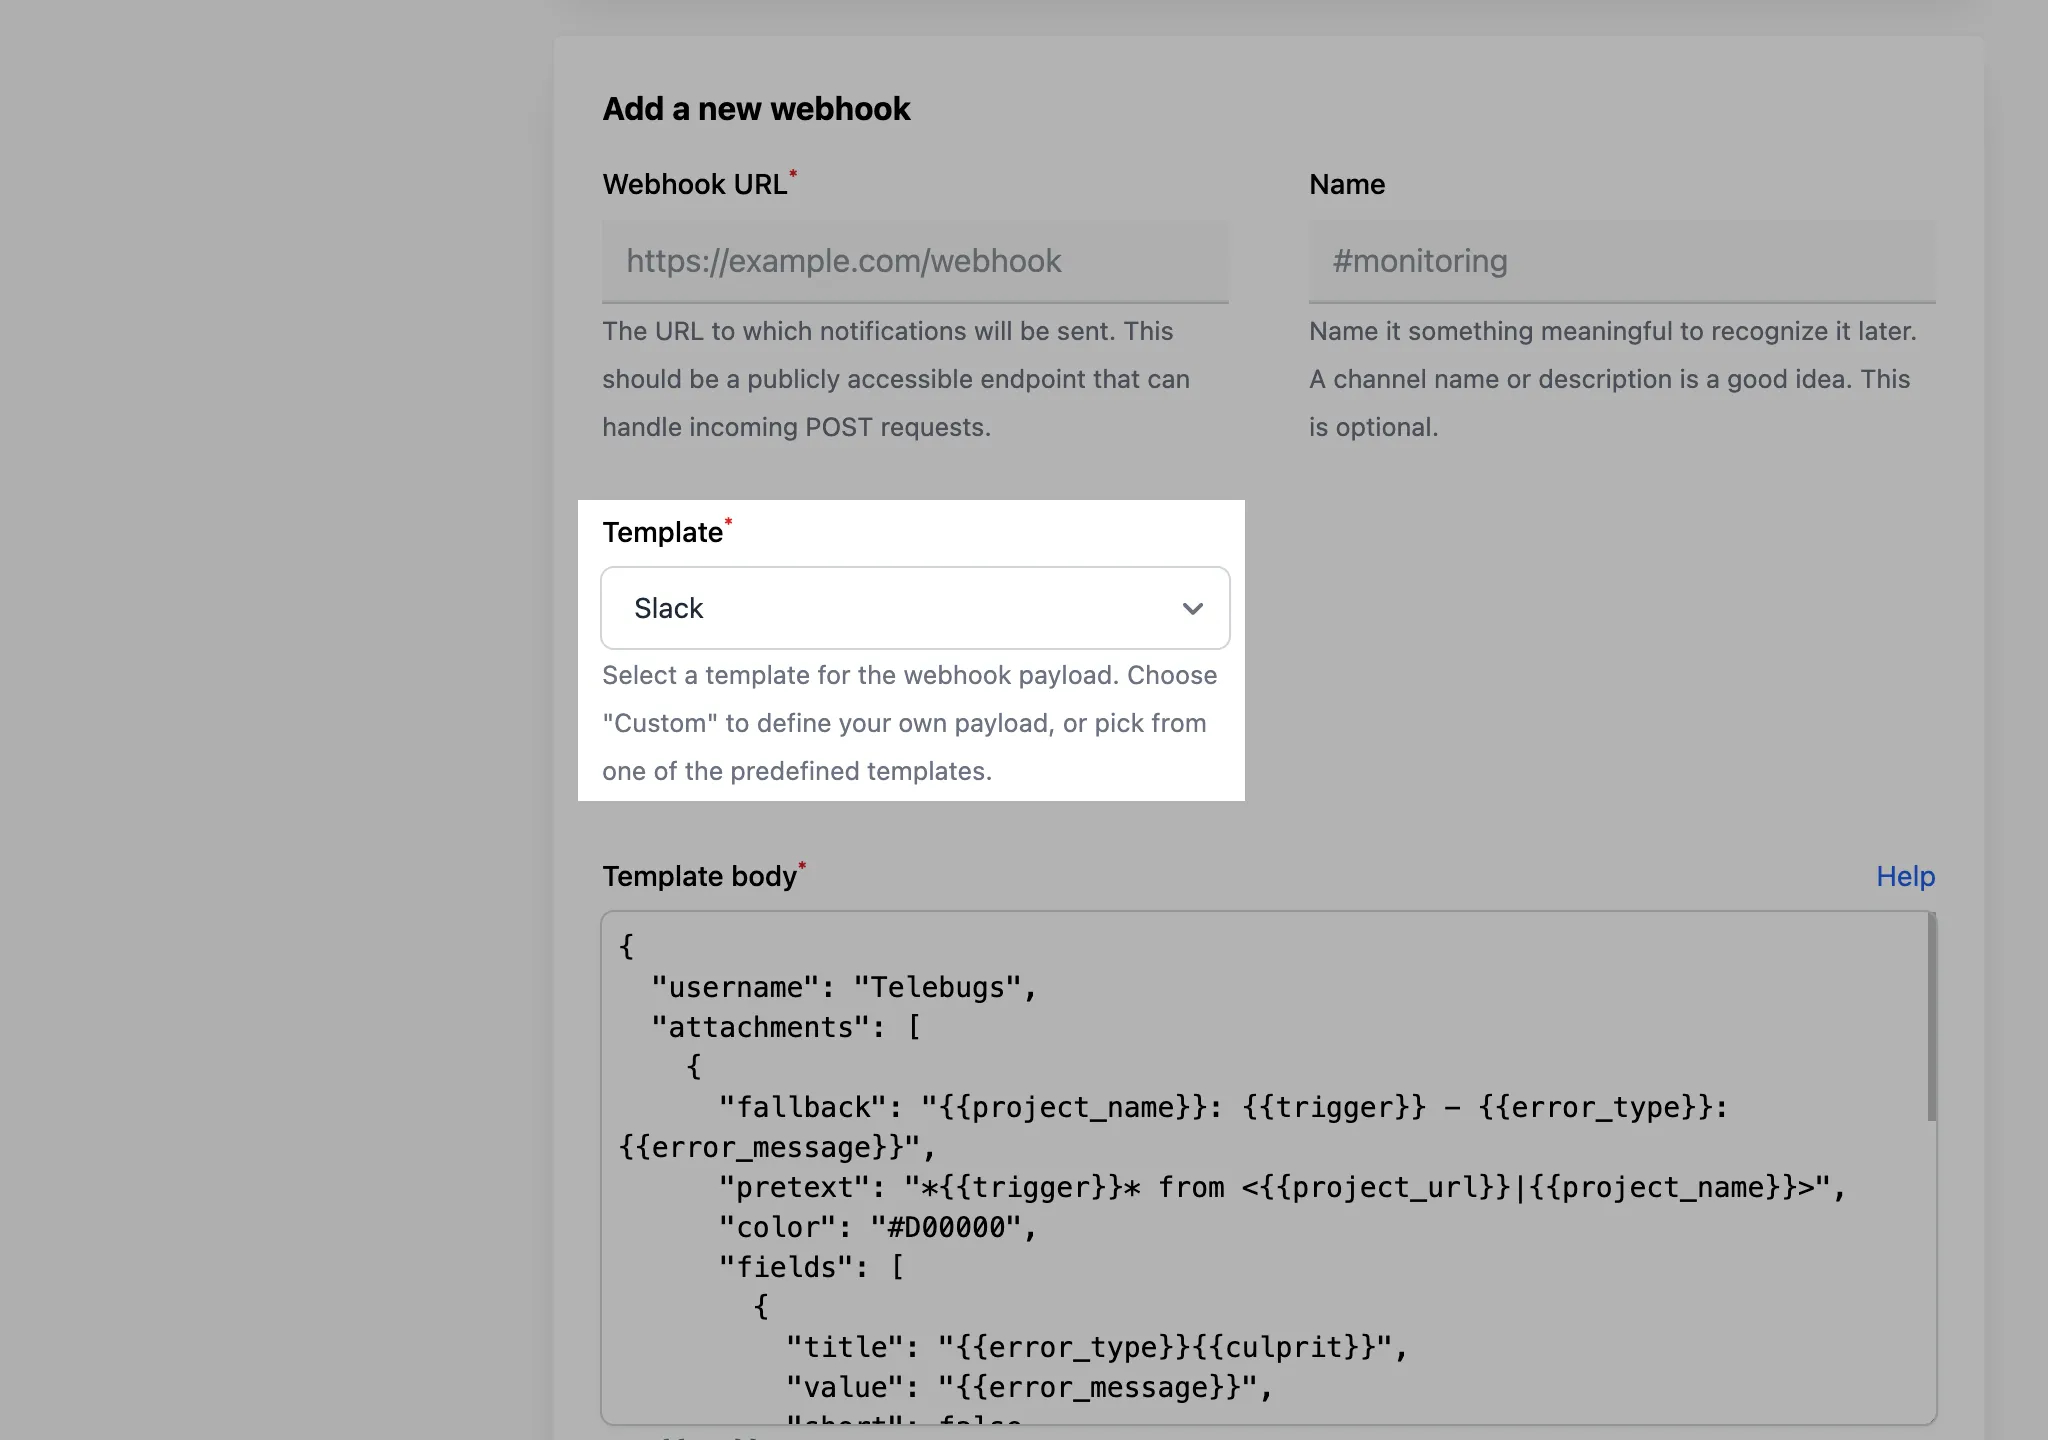
- Enter the webhook URL from Slack into the Webhook URL field and optionally provide a name (e.g., "#errors").
- The template body will auto-fill with a Slack-compatible payload, which you can customize as needed.
- Save the configuration by clicking Save webhook.
- Test the webhook by clicking the Test button to ensure it posts to your Slack channel correctly.
- When an error occurs, Telebugs will send a notification to the specified Slack channel using the configured webhook URL.
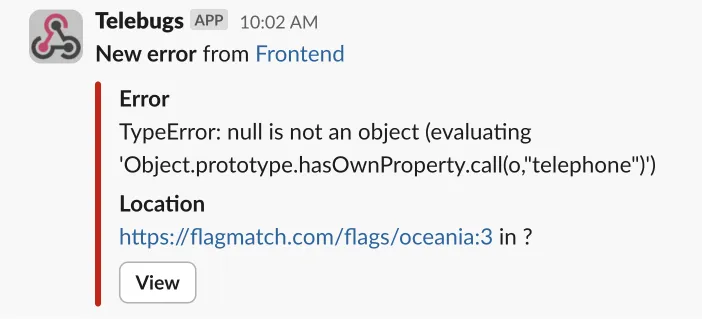
Here’s an example of a Slack-compatible payload:
{
  "username": "Telebugs",
  "attachments": [
    {
      "fallback": "{{project_name}}: {{trigger}} - {{error_type}}: {{error_message}}",
      "pretext": "*{{trigger}}* from <{{project_url}}|{{project_name}}>",
      "color": "#D00000",
      "fields": [
        {
          "title": "{{error_type}}{{culprit}}",
          "value": "{{error_message}}",
          "short": false
        },
        {
          "title": "Location",
          "value": "{{location}}",
          "short": false
        }
      ],
      "actions": [
        {
          "type": "button",
          "text": "View",
          "url": "{{view_url}}"
        }
      ]
    }
  ]
}
You can customize the payload however you like, using the available keys to include dynamic values from the error report (see Webhook template body placeholders). For example, you can change the color, add more fields, or modify the message format.